
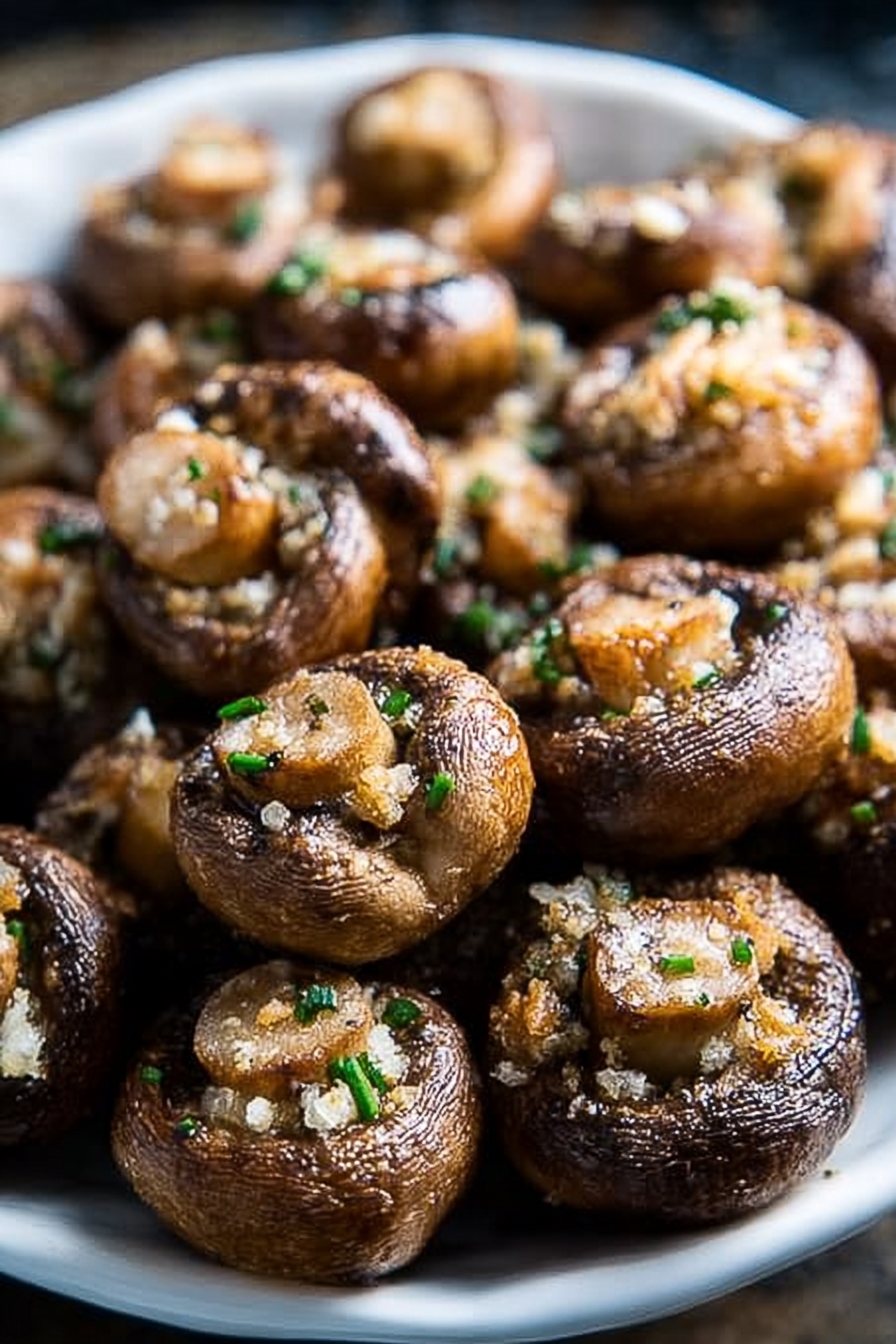
Imagine sinking your teeth into a plate of earthy, savory mushrooms, each bite bursting with the robust flavor of garlic and a hint of caramelized sweetness. These Garlicky Oven Roasted Mushrooms are so irresistibly good that they will make you rethink everything you thought you knew about fungi.
This recipe is more than just a dish; it’s a culinary adventure that transforms humble mushrooms into a star. Picture the warm, inviting aroma filling your kitchen, promising a delightful experience. This simple recipe is perfect for any occasion, promising to be a hit with everyone.
- Effortlessly prepared in under 30 minutes, making it perfect for busy weeknights or spontaneous gatherings.
- A harmonious blend of savory garlic, earthy mushrooms, and subtle herbs delivers an unforgettable taste.
- Their rich, golden-brown color and glistening glaze make them a visually stunning addition to any meal.
- Serve as a side, appetizer, or topping, enhancing a wide array of dishes from steaks to salads.
Ingredients for Garlicky Oven Roasted Mushrooms
Here’s what you’ll need to make this delicious dish:
The full ingredients list, including measurements, is provided in the recipe card directly below.
How to Make Garlicky Oven Roasted Mushrooms
Follow these simple steps to prepare this delicious dish:
Step 1: Prepare the Mushrooms
Preheat your oven to 400°F (200°C). Clean the mushrooms with a damp cloth or brush to remove any dirt. If using larger mushrooms, like portobellos, you may want to slice them.
Step 2: Garlic and Herb Infusion
In a large bowl, toss the mushrooms with olive oil, minced garlic, fresh thyme, salt, and pepper. Make sure the mushrooms are evenly coated to ensure maximum flavor in every bite.
Step 3: Roasting to Perfection
Spread the seasoned mushrooms in a single layer on a baking sheet. Roast in the preheated oven for 20-25 minutes, or until the mushrooms are tender and golden brown. Stir them halfway through for even cooking.
Step 4: The Grand Finale
Remove the baking sheet from the oven. Drizzle the Garlicky Oven Roasted Mushrooms with balsamic glaze. Toss gently to coat, and let the flavors meld together for a minute or two.
Step 5: Serving Suggestions
Transfer the roasted mushrooms to a serving dish. Garnish with a few extra thyme sprigs. Serve immediately as a side dish, appetizer, or topping for your favorite dishes.
Perfecting the Cooking Process
For the most divine **garlicky oven roasted mushrooms**, roasting them whole before adding the garlic mixture ensures they retain their moisture and develop a deep, earthy flavor. Toss them with the aromatic mixture halfway through for maximum infusion.
Add Your Touch
Feel free to experiment with different types of mushrooms like shiitake or oyster for a unique twist to these **garlicky oven roasted mushrooms**. Add a sprinkle of red pepper flakes for a touch of heat, or a dash of balsamic vinegar for added depth.
Storing & Reheating
Store leftover **garlicky oven roasted mushrooms** in an airtight container in the refrigerator for up to three days. Reheat them in the oven or a skillet until warmed through, or enjoy them cold in salads or sandwiches.
- Ensure the mushrooms are evenly spaced on the baking sheet; overcrowding will steam them instead of roasting.
- Don’t skimp on the garlic; it’s what gives these **garlicky oven roasted mushrooms** their irresistible flavor.
- A squeeze of fresh lemon juice right before serving will brighten the flavors and add a delightful tang.
(Personal anecdote formated as paragraph subheading)
My picky-eater nephew declared these were the “best mushrooms ever,” which is high praise coming from a kid who usually avoids vegetables like the plague. Victory achieved!
Conclusion for Garlicky Oven Roasted Mushrooms :
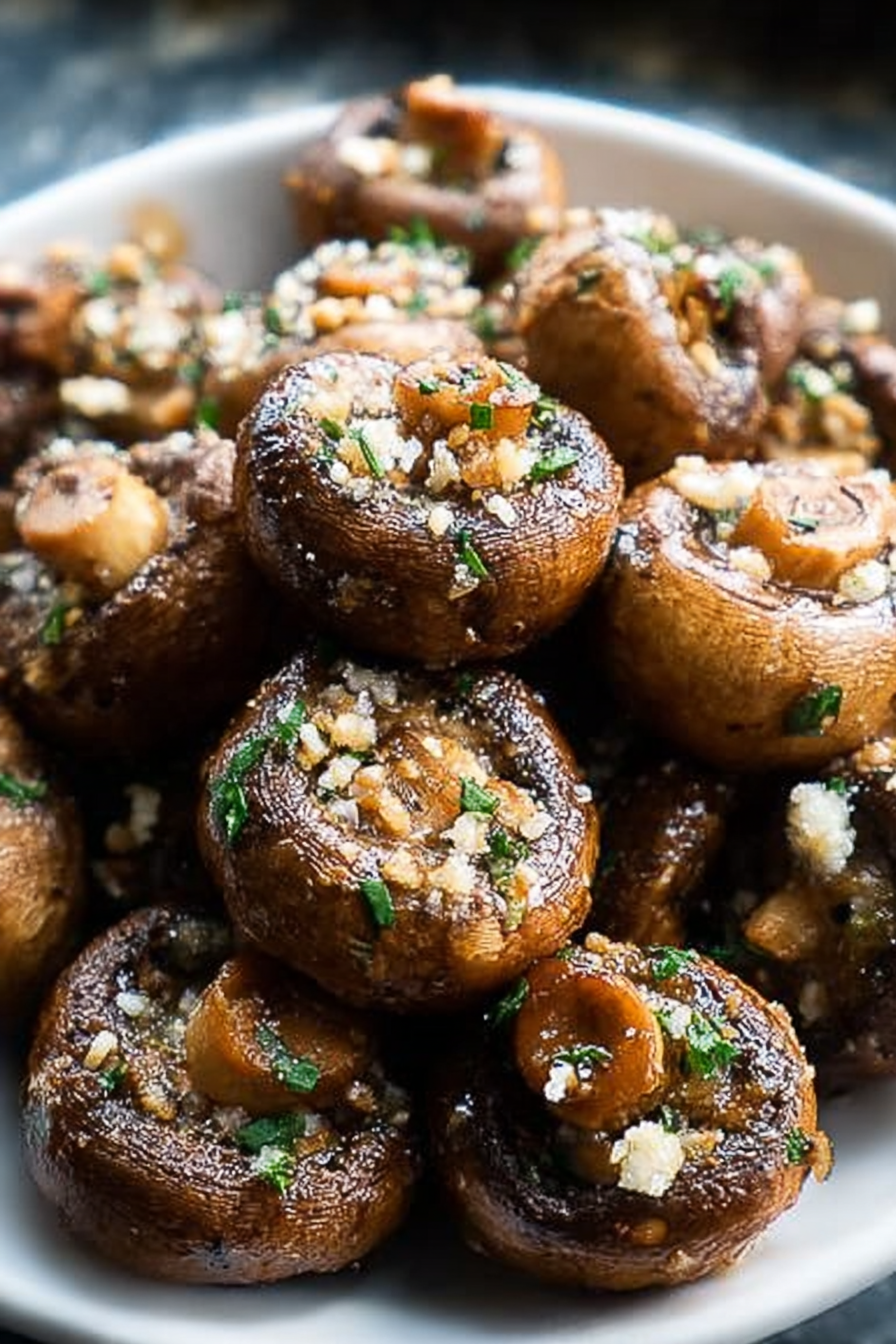
These Garlicky Oven Roasted Mushrooms are a testament to simple ingredients creating extraordinary flavor. They’re incredibly versatile, perfect as a side dish, a topping for grilled chicken, beef, or turkey, or even as a star ingredient in a vegetarian main course. The earthiness of the mushrooms combined with the pungent garlic and herbs creates a flavor explosion. So, gather your mushrooms, preheat your oven, and prepare to be amazed by this easy, delicious recipe. Enjoy!
Print
Garlicky Oven Roasted Mushrooms
Delicious garlicky oven roasted mushrooms recipe with detailed instructions and nutritional information.
- Total Time: 35 minutes
- Yield: 4 servings
Ingredients
- Mushrooms (cremini, button, or a mix), 1.5 lbs
- Olive oil, 3 tablespoons
- Garlic, minced, 4 cloves
- Fresh thyme leaves, 1 tablespoon
- Balsamic vinegar, 1 tablespoon
- Salt, 1/2 teaspoon
- Black pepper, 1/4 teaspoon
- Fresh parsley, chopped, 2 tablespoons
Instructions
- Step 1: Preheat oven to 400°F (200°C). Line a baking sheet with parchment paper.
- Step 2: Wash and dry the mushrooms. If using larger mushrooms, halve or quarter them so they are roughly the same size.
- Step 3: In a large bowl, toss the mushrooms with olive oil, minced garlic, thyme, balsamic vinegar, salt, and pepper until evenly coated.
- Step 4: Spread the mushrooms in a single layer on the prepared baking sheet. Avoid overcrowding.
- Step 5: Roast in the preheated oven for 20-25 minutes, or until the mushrooms are tender and have released their juices. Stir halfway through cooking.
- Step 6: Remove from oven and garnish with fresh parsley before serving.
Notes
- Store leftover roasted mushrooms in an airtight container in the refrigerator for up to 3 days.
- For best results, reheat mushrooms in a skillet over medium heat to re-crisp them slightly.
- These garlicky mushrooms are fantastic as a side dish, or piled on top of crusty bread with ricotta cheese.
- Don't skip stirring halfway through roasting; this ensures even cooking and prevents the mushrooms from sticking to the pan.
- Prep Time: 15 minutes
- Cook Time: 20 minutes
- Method: Stovetop
- Cuisine: American
FAQs :
Can I use any type of mushrooms for these Garlicky Oven Roasted Mushrooms?
Absolutely! While I adore using cremini or button mushrooms for their earthy flavor and readily available nature, the beauty of this recipe lies in its adaptability. Feel free to experiment with other varieties like shiitake for a more intense umami punch, or oyster mushrooms for a delicate, almost seafood-like flavor. Just remember to adjust the roasting time slightly depending on the mushroom type; denser mushrooms might require a few extra minutes in the oven to achieve that perfect tender-crisp texture, while more delicate ones might cook faster. The key is to keep an eye on them and trust your instincts!
What’s the best way to clean mushrooms before roasting?
Okay, here’s the deal: mushrooms are like little sponges. If you soak them in water, they’ll absorb it, and your Garlicky Oven Roasted Mushrooms will end up steaming instead of roasting, resulting in a less-than-ideal texture. Instead, gently brush off any dirt with a soft brush or a slightly damp paper towel. If they’re particularly dirty, give them a quick rinse under cool water and immediately pat them dry with paper towels. The goal is to remove the grime without waterlogging them. Remember, a little bit of earthy goodness is part of the mushroom charm!
How do I store leftover roasted mushrooms?
If, by some miracle, you have leftover Garlicky Oven Roasted Mushrooms, storing them properly is essential for preserving their flavor and texture. Place the cooled mushrooms in an airtight container and refrigerate them promptly. They should keep well for up to three days. When you’re ready to enjoy them again, you can reheat them in a skillet over medium heat, or even pop them back into the oven for a few minutes until warmed through. Reheating will revive some of their crispness. Avoid microwaving, as that can make them a bit soggy.
Can I add other vegetables to these Garlicky Oven Roasted Mushrooms?
Oh, absolutely! The possibilities are truly endless. Consider tossing in some bell peppers for a pop of color and sweetness, or some onions for a deeper, savory flavor. Cherry tomatoes would add a burst of juicy acidity. You could even add some zucchini or asparagus for a green boost. Just remember that different vegetables have different cooking times, so you might need to add them to the pan at different intervals to ensure everything cooks evenly. Keep an eye on the texture of all vegetables, and adjust the cooking time according to your preferences.


Leave a Comment